Migrate from Harvest
The Harvest importer runs during Keito workspace setup. It reads the records available to the authenticated Harvest user, creates their dependencies in the correct order, and shows the status of each migration phase.
What the importer brings across
You can preview and select the data types you want before the import starts:
| Harvest data | Keito destination |
|---|---|
| Clients | Manage → Clients |
| Projects, project assignments, and tasks | Projects and Manage → Tasks |
| People and roles | Team and Manage → Roles |
| Time entries | Time and Reports |
| Expenses and expense categories | Expenses and Manage → Expense Categories |
| Invoices, line items, and payments | Invoices |
| Estimates | Estimates |
| Starter reports | Reports |
Imported teammates are not invited automatically. An administrator can review their identities, project assignments, access permissions, and reporting roles before sending invitations.
What you need
- a new Keito workspace;
- a Harvest Account ID;
- a Harvest Personal Access Token;
- a Harvest administrator account with access to the records being migrated;
- the expected source counts for reconciliation.
Create the token in the Developers section of Harvest ID. Harvest’s API authentication documentation has the current token instructions.
1. Configure the Keito workspace
Enter the company identity, currency, timezone, and working-week settings that should apply to new work in Keito.
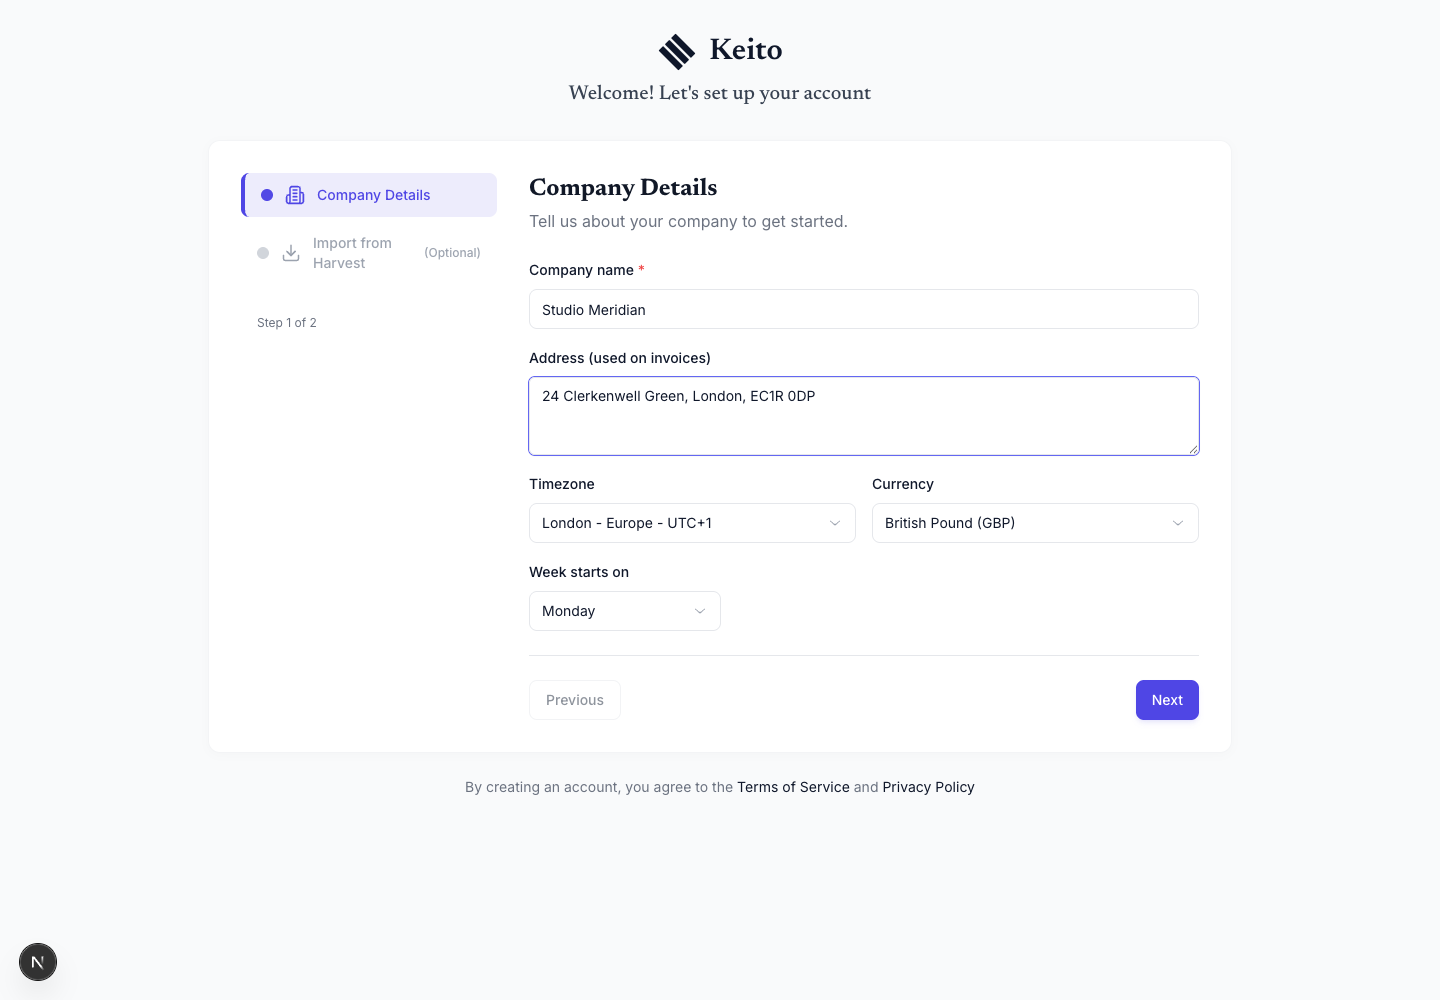
These are target settings. Review them even if similar values already exist in Harvest.
2. Connect Harvest
On Import from Harvest, enter the Account ID and Personal Access Token, then select Test Connection.
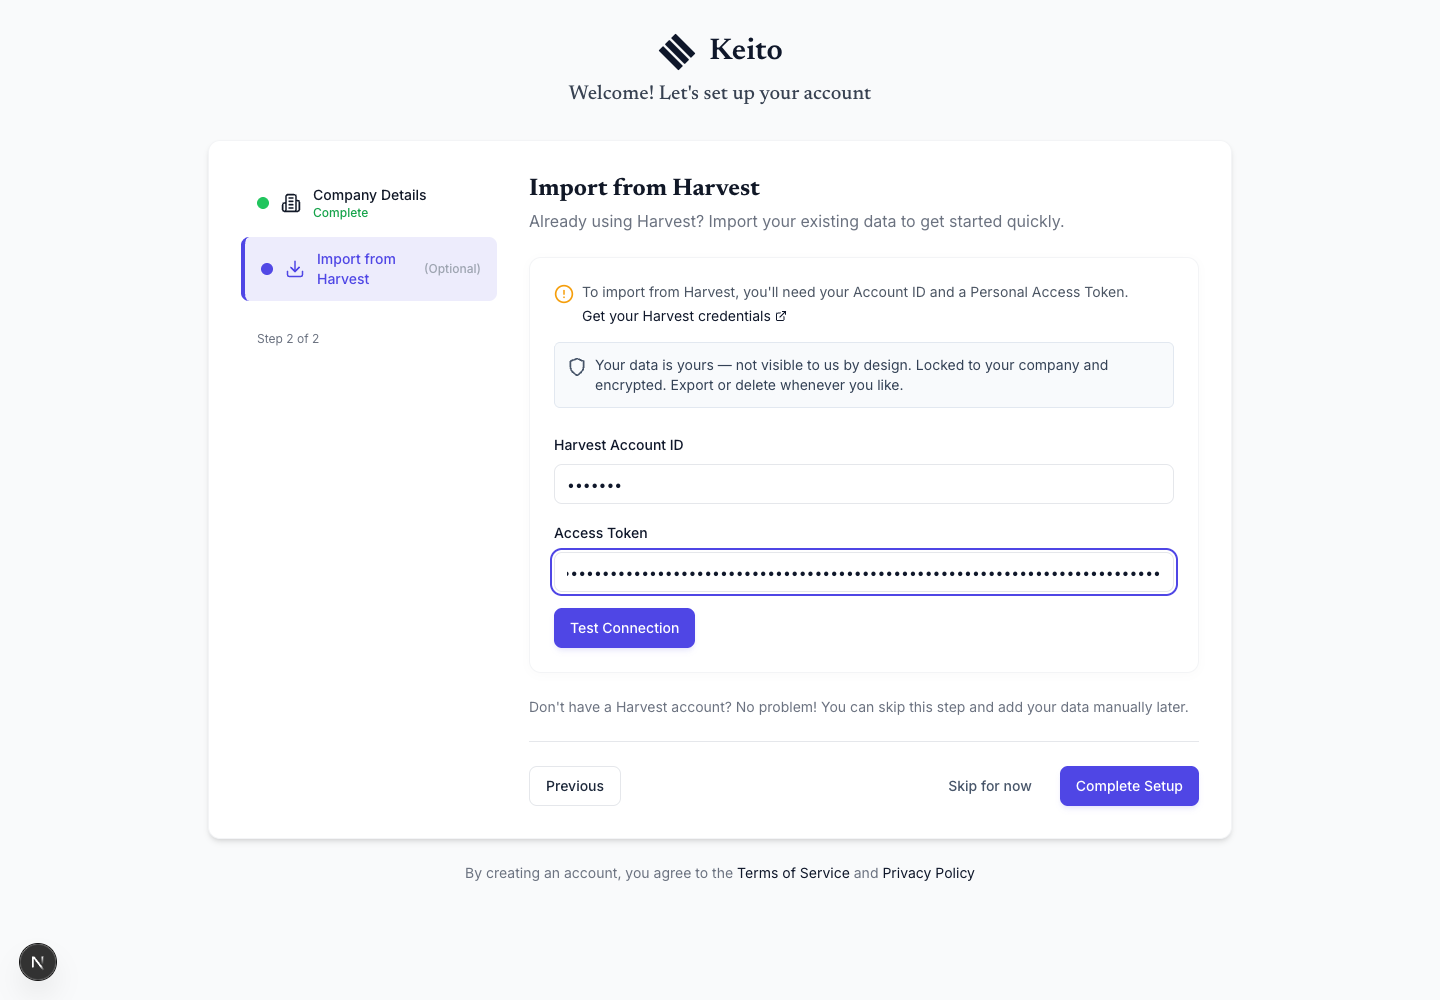
Both fields are masked. Do not expose their values in screenshots or support requests.
If the test fails, confirm:
- the Account ID and token belong to the same Harvest account;
- the token has not been revoked;
- the token owner still has access to the account;
- the Account ID contains digits only;
- neither value has leading or trailing spaces.
3. Review the preview
After a successful connection, Keito shows the number of available records for each supported data type.
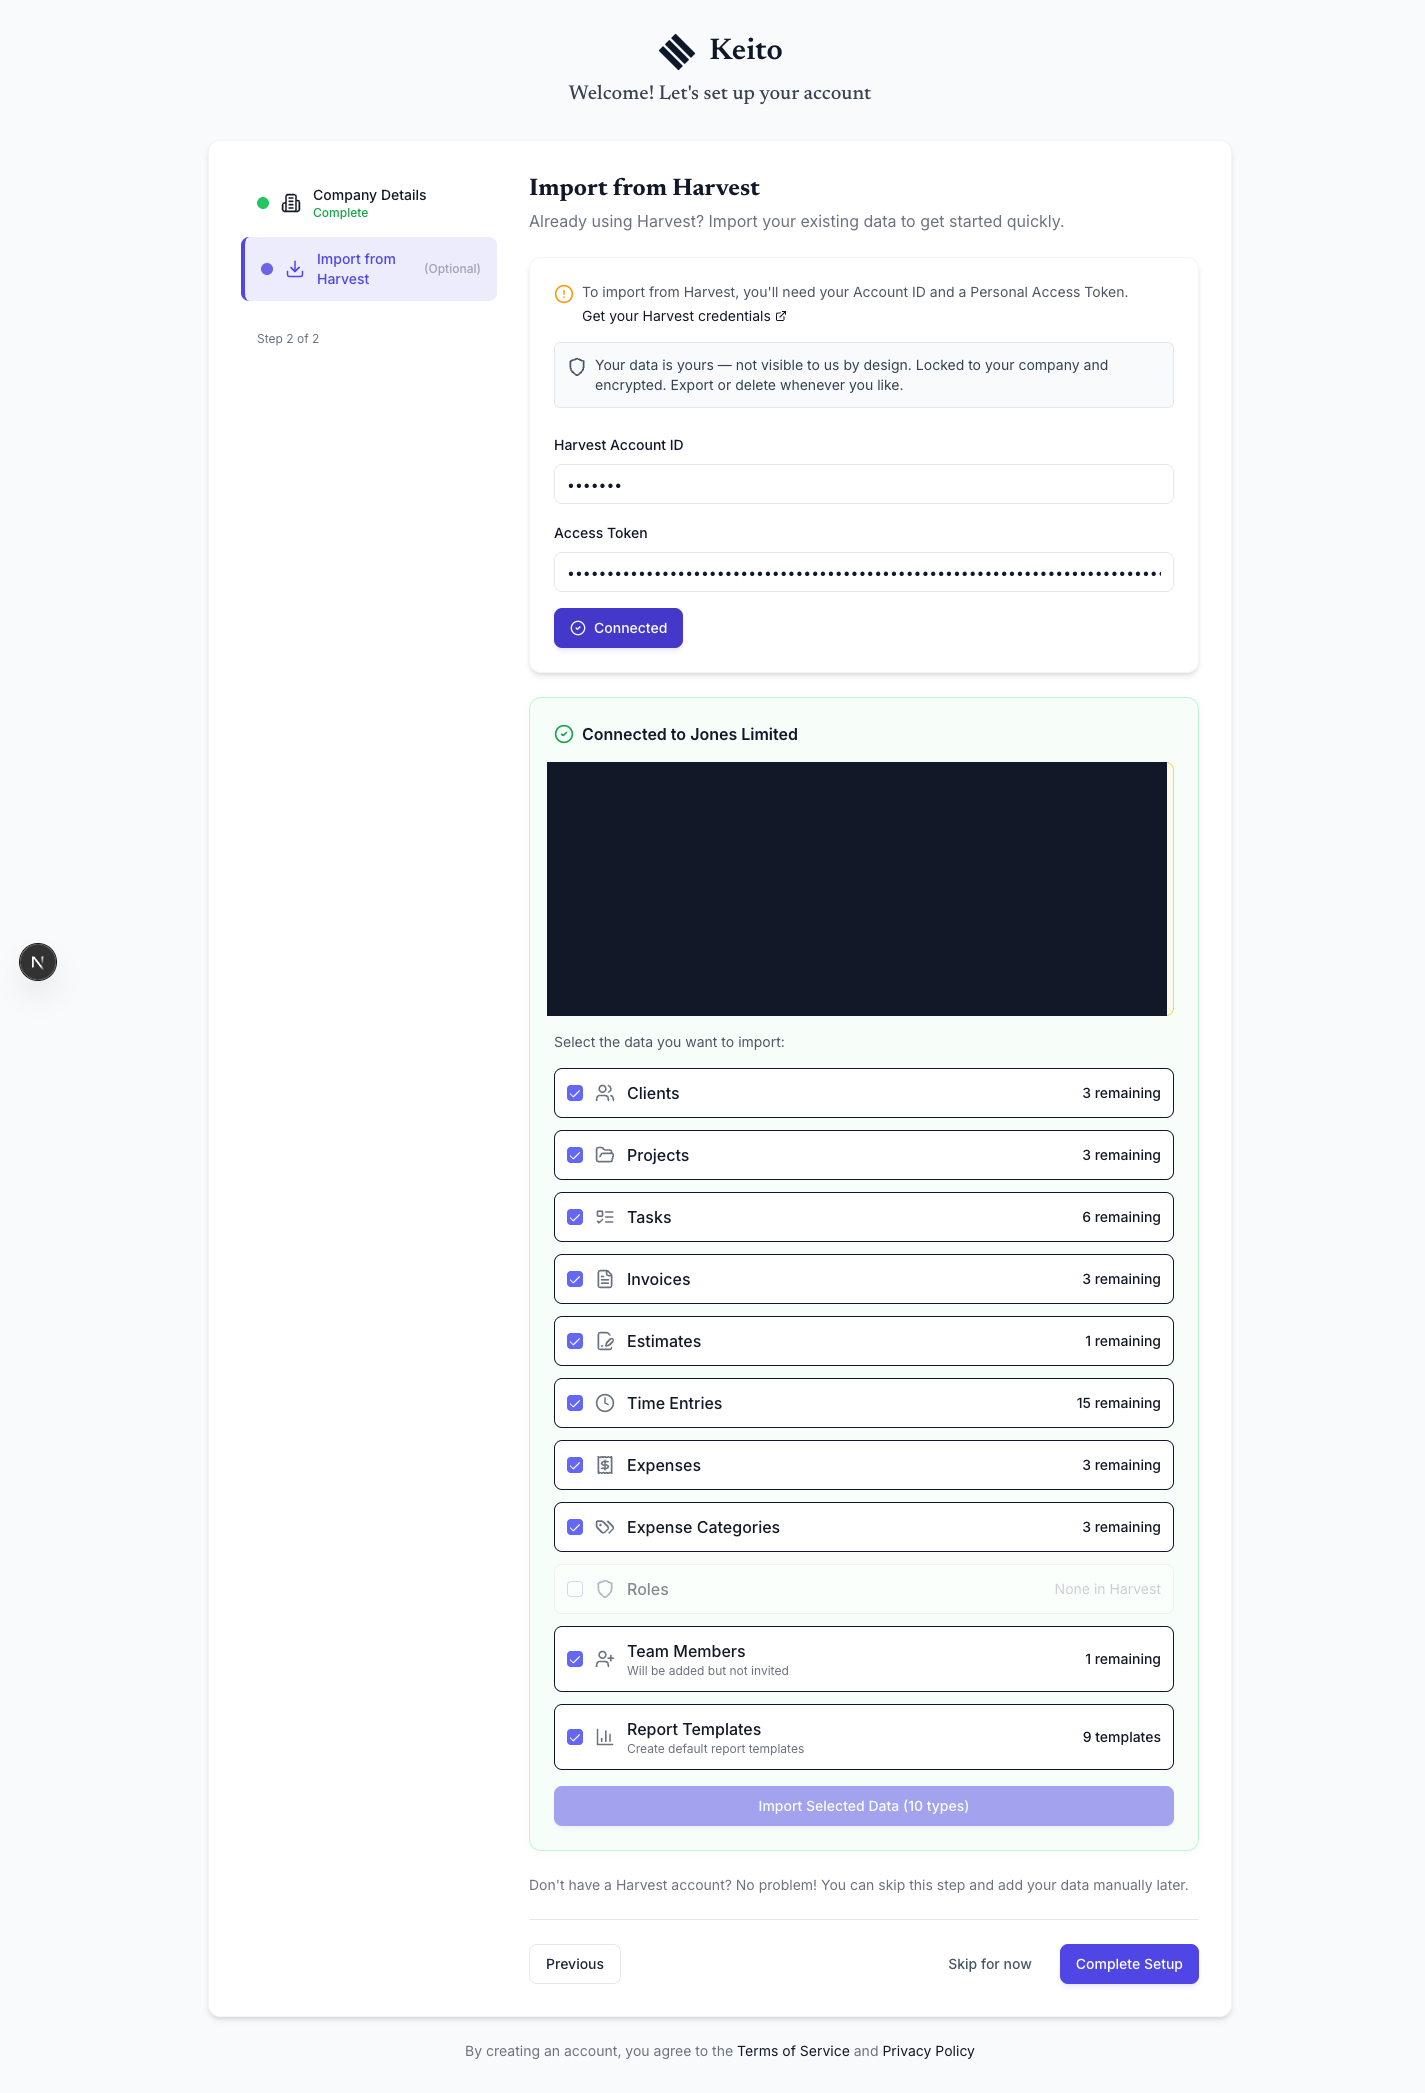
Before continuing:
- compare the preview with your expected source counts;
- select the Harvest user who represents the current Keito login;
- confirm archived or inactive records are represented as expected;
- select the data types you want to migrate.
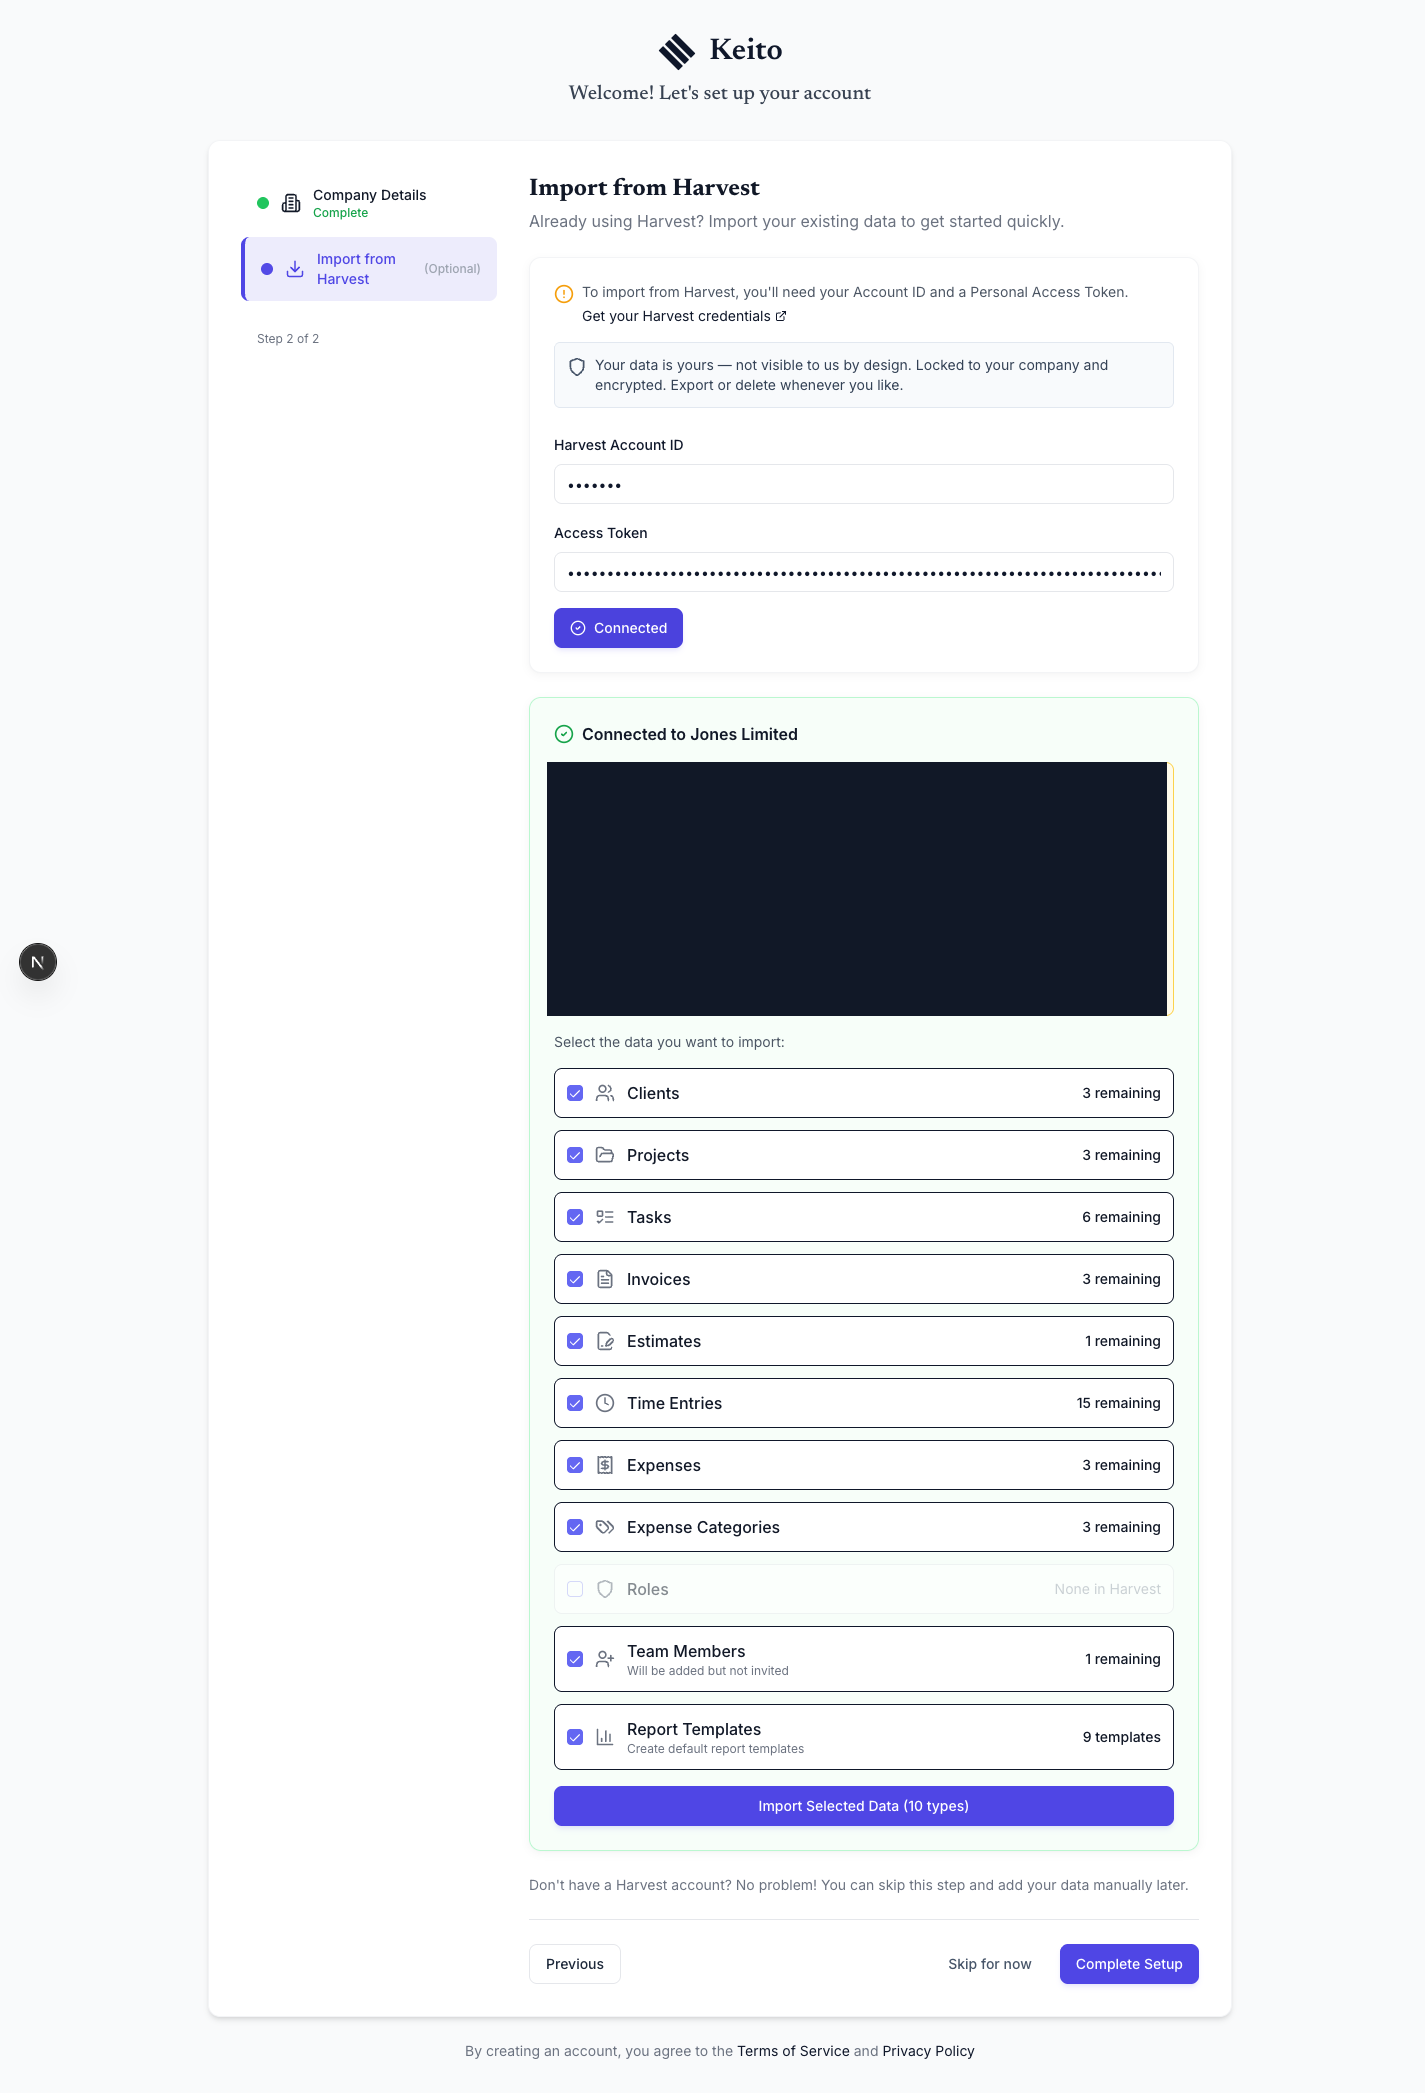
Stop here if the counts are wrong. Harvest API access follows the token owner’s permissions, so a non-administrator may see only part of the account.
4. Run the migration
Keito runs the import in dependency order:
- roles and users;
- clients, tasks, and expense categories;
- projects and assignments;
- time entries;
- expenses, invoices, estimates, and starter reports.
Later records depend on earlier mappings. For example, a time entry needs its user, project, and task before it can be created.
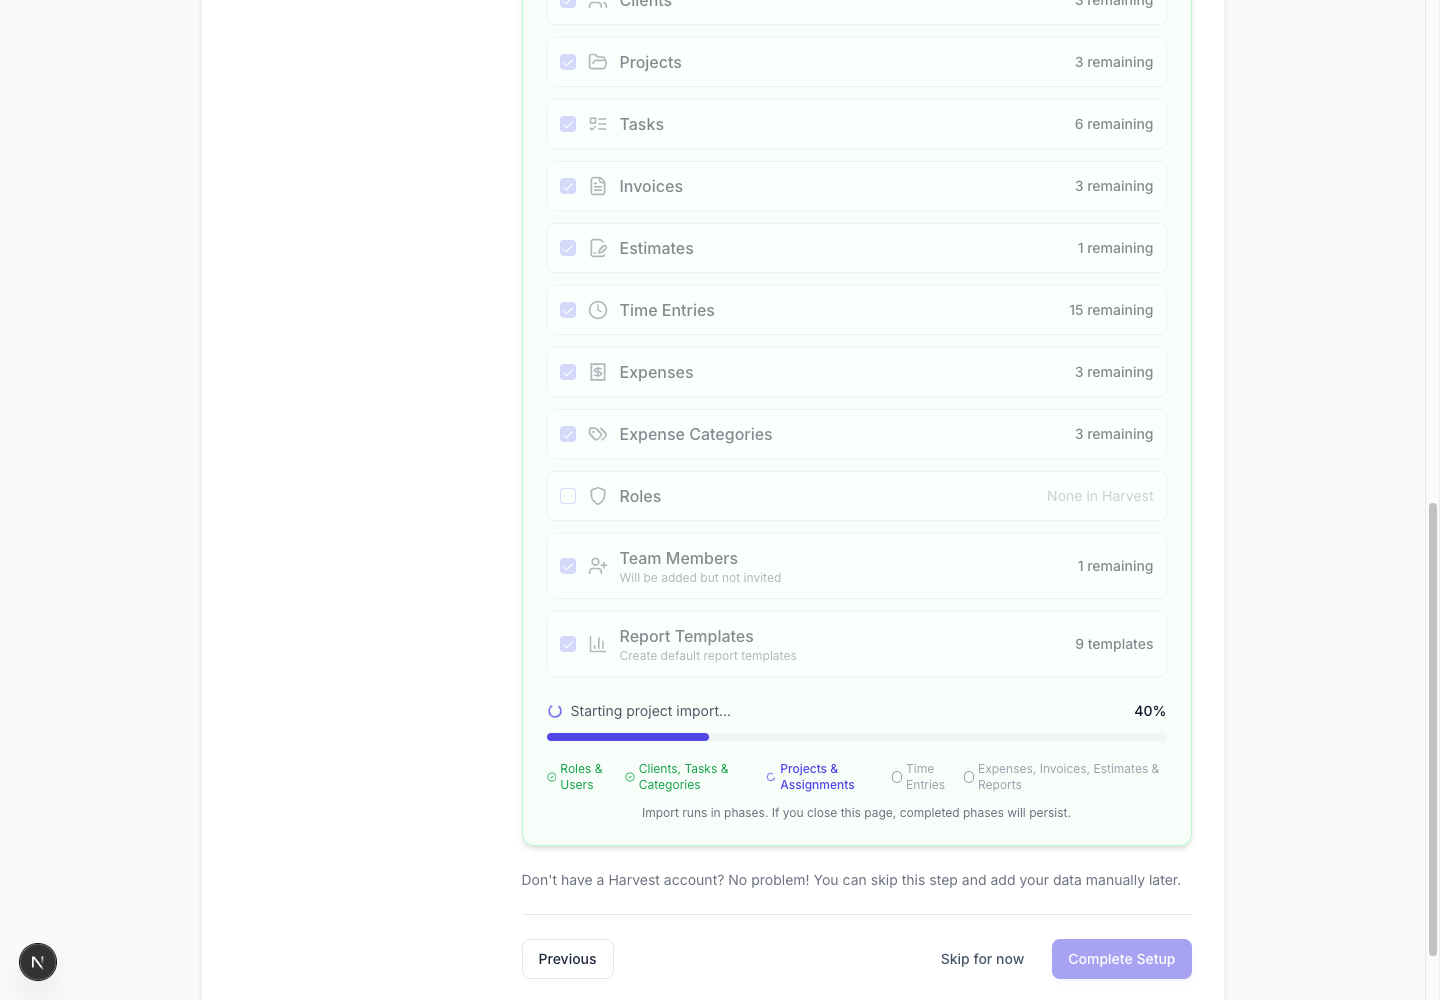
The larger project, time-entry, expense, invoice, and estimate stages run as resumable background jobs. Leave the page open for the clearest live progress view. If you close it, completed phases persist; return to the same import screen to see or resume the active migration.
Keito shows the current phase, processed count, and percentage. If a related Harvest record cannot be matched, the importer continues and shows a skipped-record summary when it finishes. Common reasons include a client deleted in Harvest, a project or task that was not imported, an unmapped Harvest user, or a missing expense category.
5. Complete setup
When every selected phase finishes, Keito shows a completed state.
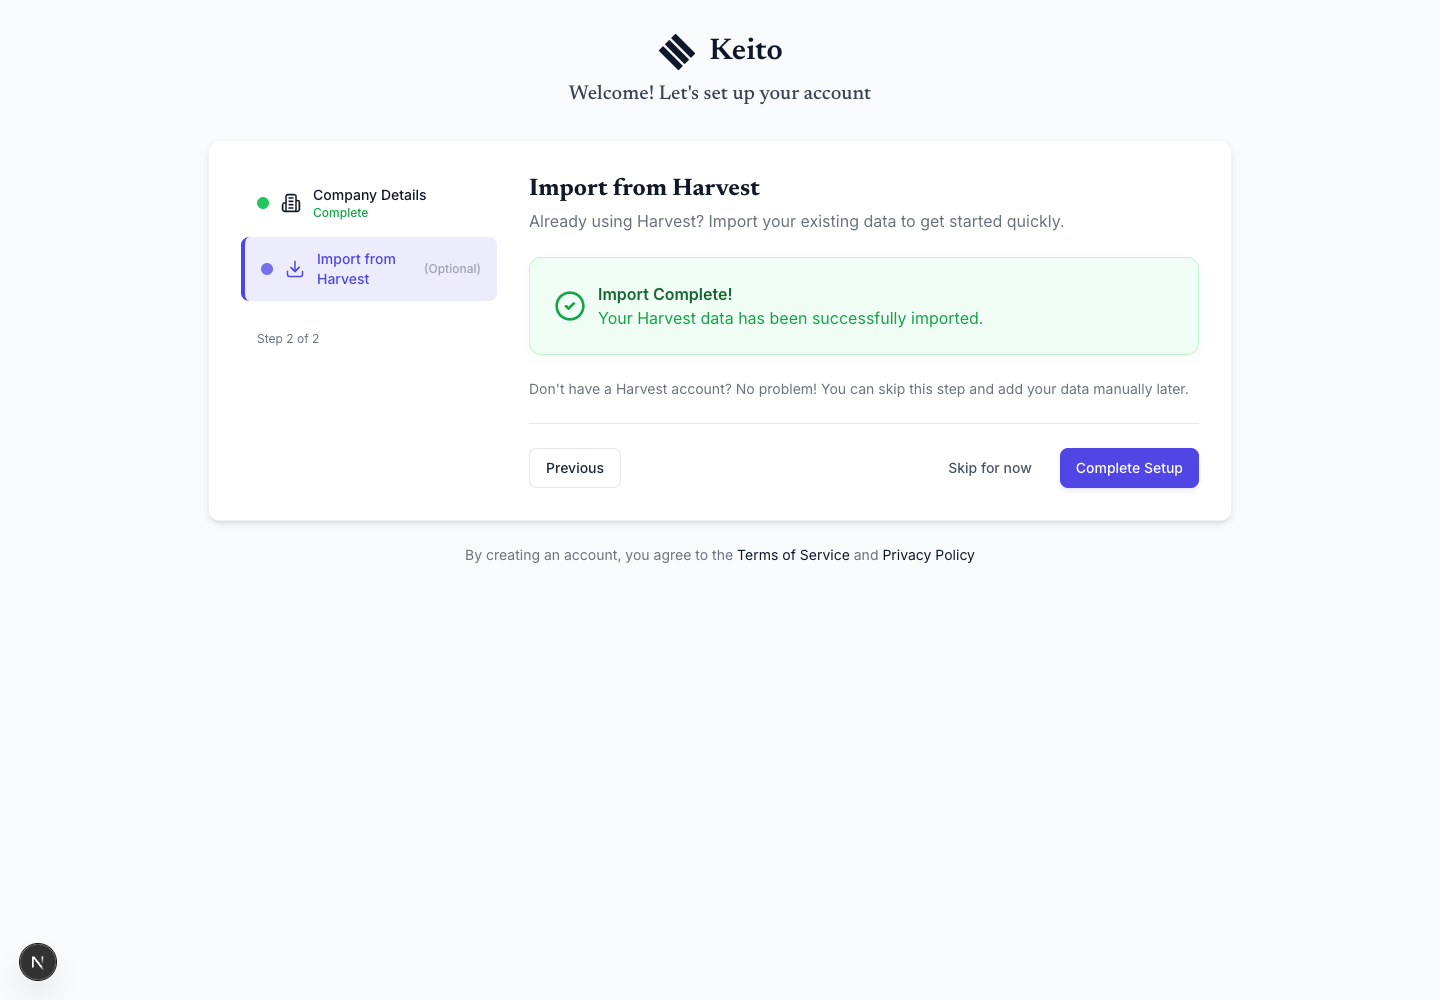
Select Complete Setup to enter the workspace. Imported team members are not automatically invited, giving an administrator time to review identities, roles, and permissions.
How Harvest invoice history is handled
Keito requests the complete invoice list available to the connected Harvest account. The importer does not apply a year or invoice-date cutoff, so invoices from before the current year are included when Harvest returns them to the token owner.
Harvest invoice states map to Keito as follows:
| Harvest state | Keito state |
|---|---|
| Draft | Draft |
| Open or Partial | Open |
| Paid | Paid |
| Closed | Closed |
An unrecognised source state is imported as Draft so it can be reviewed safely.
The invoice page opens on Open & Draft by default. Historical paid and closed invoices are therefore not visible until you select All, Paid, or Closed. See Find and filter invoices for exact search and oldest-first instructions.
Re-run an import safely
Harvest imports are repeatable. When you run the importer again, Keito matches records by their Harvest identifiers and updates records already imported instead of creating another copy. New source records are added.
A re-import is not a source rollback. If a record was deleted from Harvest after the first migration, re-importing does not automatically delete the corresponding Keito record. Reconcile the results before changing either system.
If the preview count already matches the completed import count, running the same selection again normally verifies or refreshes those records; it does not reveal records the token owner cannot access or that the Harvest API does not return.
Skipped and API-limited records
Review the completion summary before cutover. A skipped record usually means that one of its required dependencies was not available or could not be matched. Import that dependency, correct the source access, and re-run the affected data types when appropriate.
Some Harvest information is not exposed completely through its public API:
- future-only recurring invoice templates cannot be discovered until they have generated an invoice;
- recurring schedules reconstructed from invoice history remain disabled until an administrator confirms them;
- retainer history and balances may require project mapping and manual review.
These limitations do not impose an invoice-date cutoff. They apply to source features that Harvest does not return as complete standalone records.
What happens next
A green completion state confirms that the automated jobs finished; it is not the final business sign-off.
Continue with:
The full illustrated migration guide includes every import phase and resulting Keito screen.
If an invoice still appears to be missing
First select All on the invoice page and leave it selected. Search for the exact invoice number, or sort Issue Date oldest-first. Paid and closed invoices do not appear in the default Open & Draft view.
If the invoice is still absent, contact Keito support with:
- the email address used to sign in to Keito;
- two or three missing invoice numbers and their issue dates;
- the approximate time the import completed;
- the import phase or non-sensitive error shown, if any.
Do not send your Harvest Account ID, Personal Access Token, client names, invoice line items, or other customer content. Keito support can begin with high-level import status and record counts and ask for more only when necessary.
Review recurring invoice templates
Harvest’s public API does not expose future-only recurring templates. Keito can reconstruct a recurring schedule only when an imported historical invoice contains a Harvest recurring-invoice identifier.
An administrator must review each reconstructed schedule, amount, tax, and source setting before Keito enables future generation. A future-only Harvest template with no historical invoice must be recreated manually. See Recurring Invoices for the complete setup and review behaviour.